Creating and sharing Custom agent publicly
Public Agent Sharing feature allows you to extend the power of your custom AI agents beyond your internal team, providing a seamless, interactive experience for your clients and stakeholders. Public sharing allows you to deploy Custom agents that external users (clients, partners, or the general public) can interact without needing to log in. These agents act as branded, intelligent interfaces for specific datasets, such as medical records, project documents, or product catalogs. By enabling public access, you can deploy a dedicated interface where users interact directly with your agent.
Public agent capabilities and benefits
-
Fully branded experience: Allows for deep customization of logos, background colors, and typography to ensure the interface mirrors your corporate identity.
-
Zero-friction engagement: Eliminates the need for end-user authentication, removing barriers to entry and significantly increasing interaction rates.
-
Contextual RAG intelligence: Powered by Retrieval-Augmented Generation, enabling the agent to provide precise answers sourced directly from your uploaded documents or connected APIs.
-
Direct document interaction: Empowers clients to self-serve by extracting insights and answers from specific datasets without requiring manual staff intervention.
-
Seamless ecosystem integration: Designed to feel like a native component of your own service platform rather than a third-party tool, maintaining brand trust.
-
Scalable 24/7 support: Delivers secure, round-the-clock access to information through a controlled public URL, allowing your support capacity to scale effortlessly.
The following steps will walk you through the process of building a custom AI agent from scratch and deploying it for public use, allowing your clients to interact with your data in a branded, secure environment.
Step 1: Create your Custom agent
-
From the DataGOL Home page, click Agents.
-
Click the Explore tab.
-
Click Create Agent button. The Create Agent page is displayed.
-
Enter the following details:
-
Basic Info:

-
Name and Description: Give your agent a clear identity with a unique name and description.
-
Upload Logo: Upload your company logo. This unlocks additional customizability, allowing you to set specific background and text colors so the interface feels like an extension of your brand.
-
-
Deep Research: Toggle the Deep Research option if your agent needs to perform complex, multi-step analysis or browse the web for real-time information.
-
Advance Settings: Configure the following:
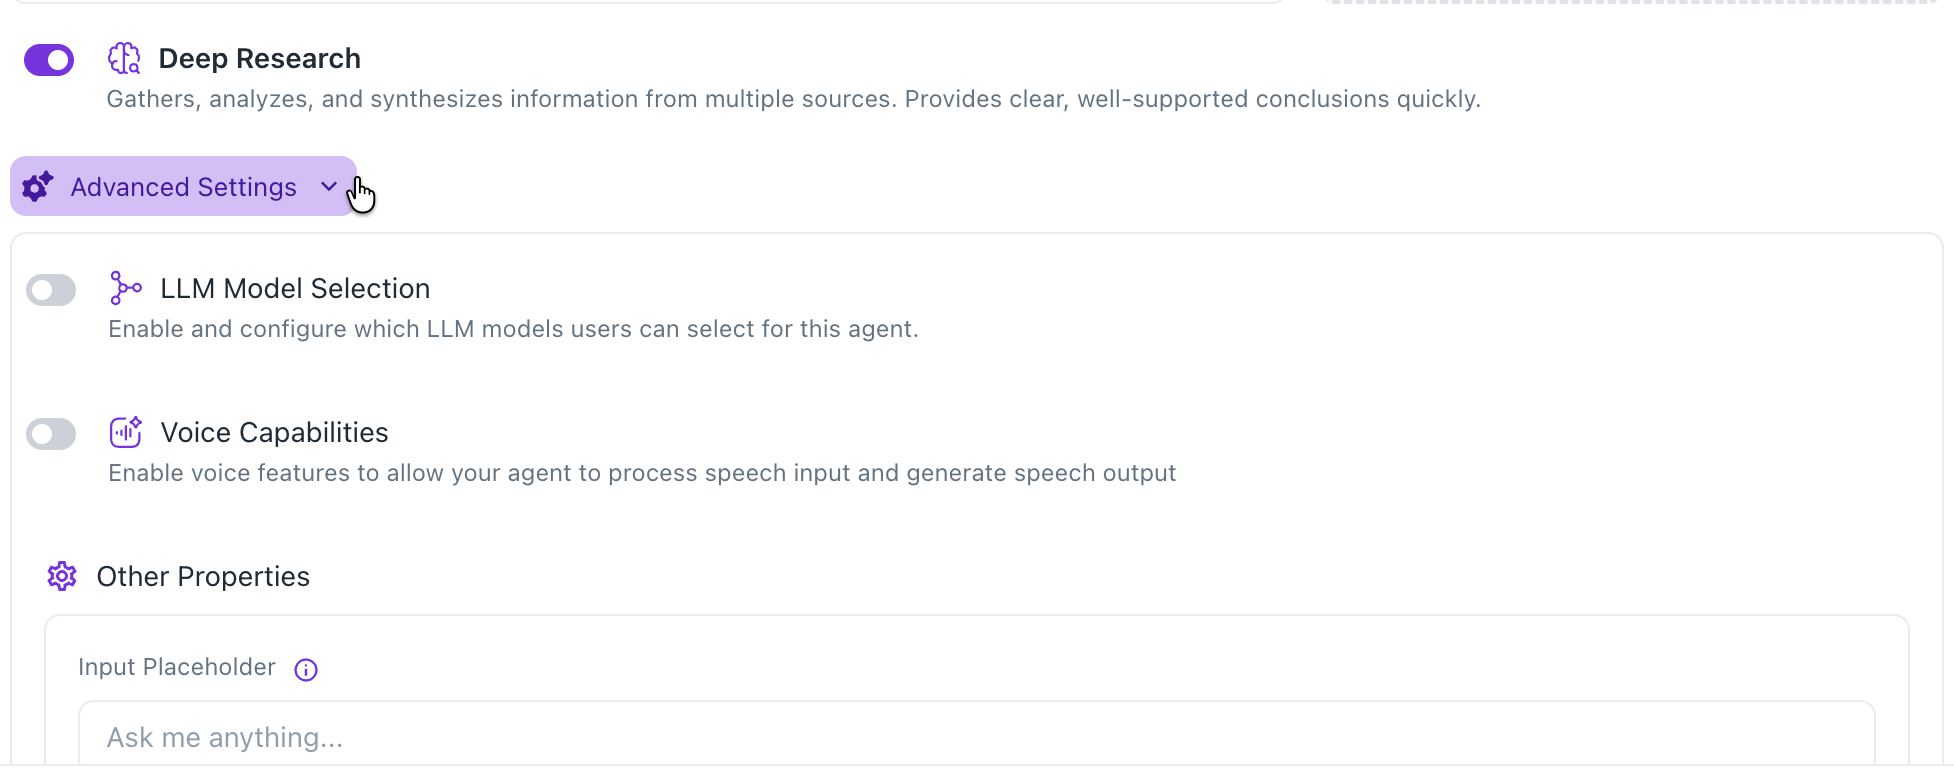
- Enable and configure which LLM models users can select for this agent.
- Enable voice features like Speech-to-Text or Text-to-Speech if you want to allow your agent to process speech input and generate speech output.
- Provide the place holder text to be shown in the chat input box.
-
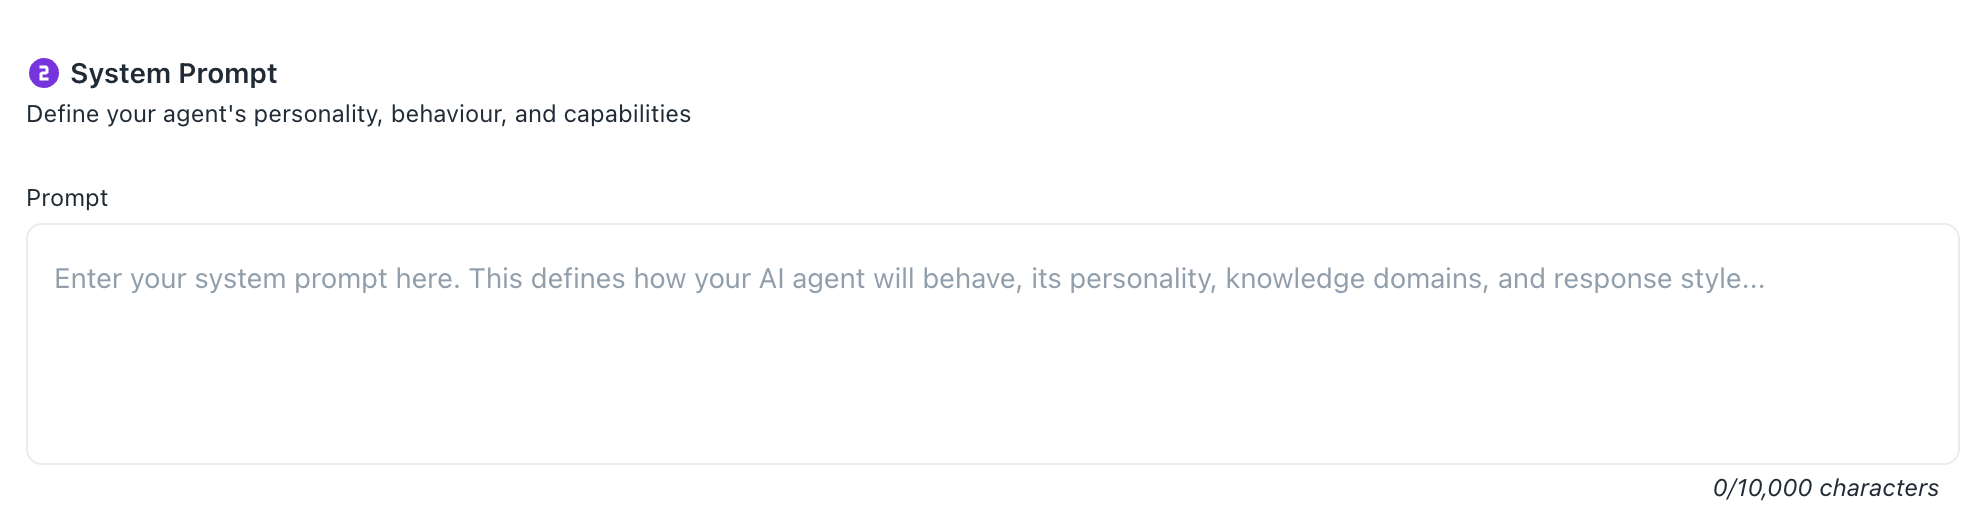
System Prompting: Define the agent’s personality. This is where you instruct it on how to speak and how to handle specific client inquiries.
-
Tools & Capabilities: Configure MCP servers and other tools for your agent.
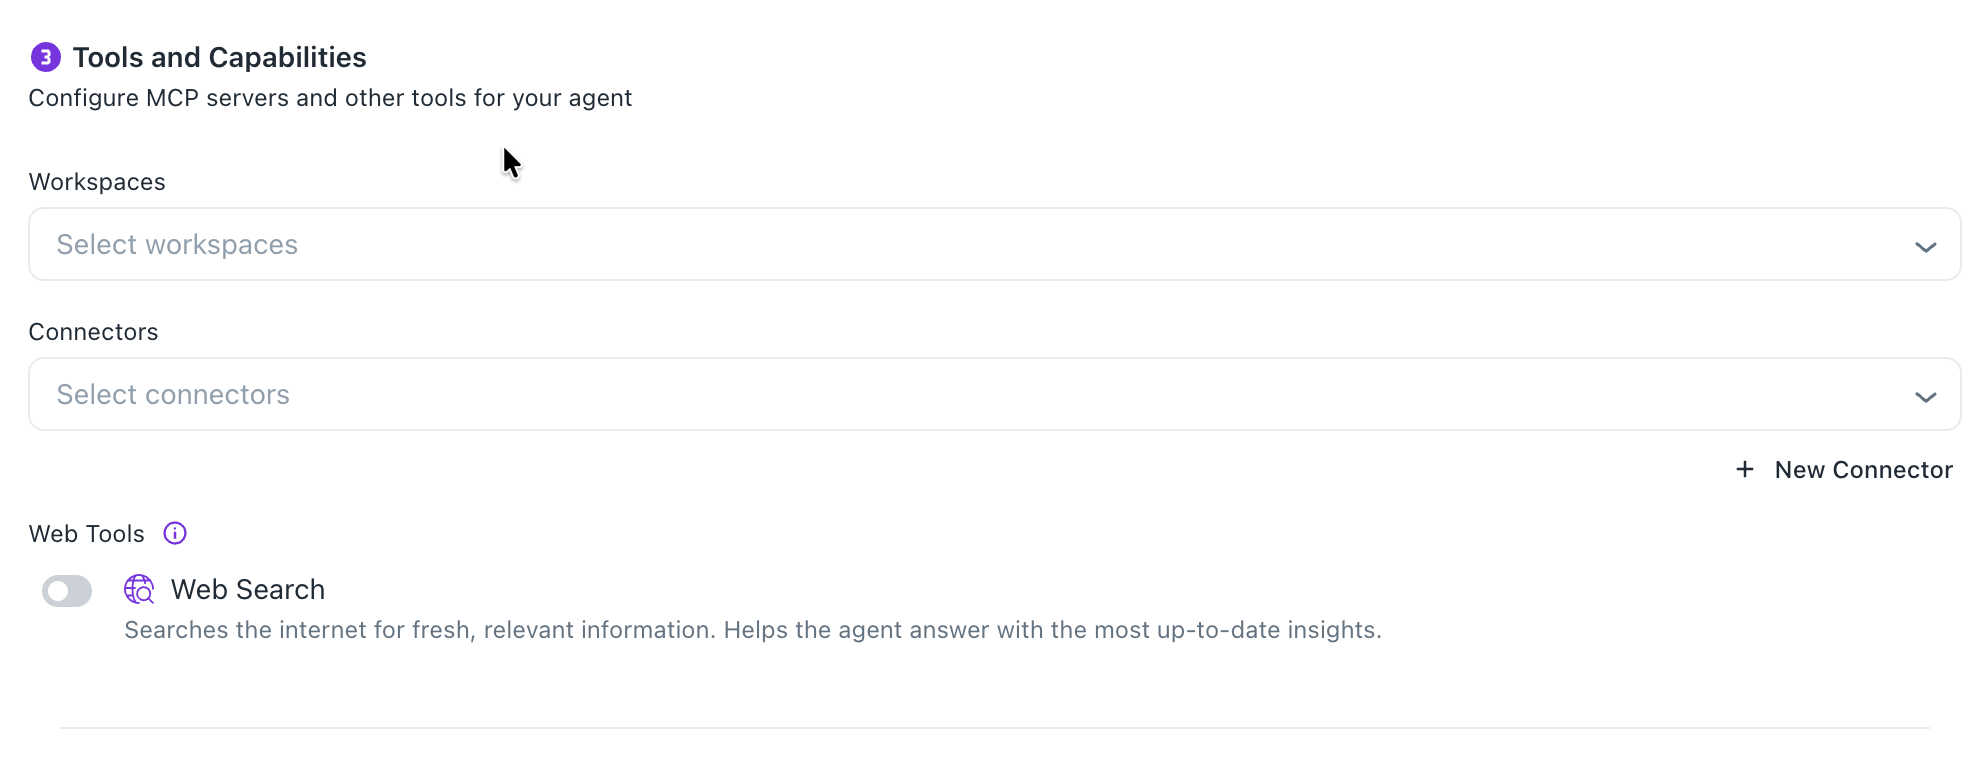
- To make your agent useful, you must give it a source of truth. Scroll to the Workspaces section. Select the workspace containing your documents. The agent will now be able to search these documents and provide citations (links to the exact source) in its responses.
- Select the required Connectors. You can also click the New Connector button and create new credentials for the reviewed and recommended tools.
- Add Model Context Protocol (MCP)servers that provide additional capabilities to your agent.
- Turn on the Web Search button to enable web search and browser capabilities for your agent to access live internet information.
-
Step 2: Publicly share or embed your custom agent
After you have created your Custom agent, you can do any of the following to make your agent publicly accessible:
- Get the embed codes which you can add to any website to display your agent as a chat widget.
- Copy the dedicated URL and provide a public link for your agent.
To make your agent publicly accessible, do the following:
-
From the DataGOL Home page, click Agents.
-
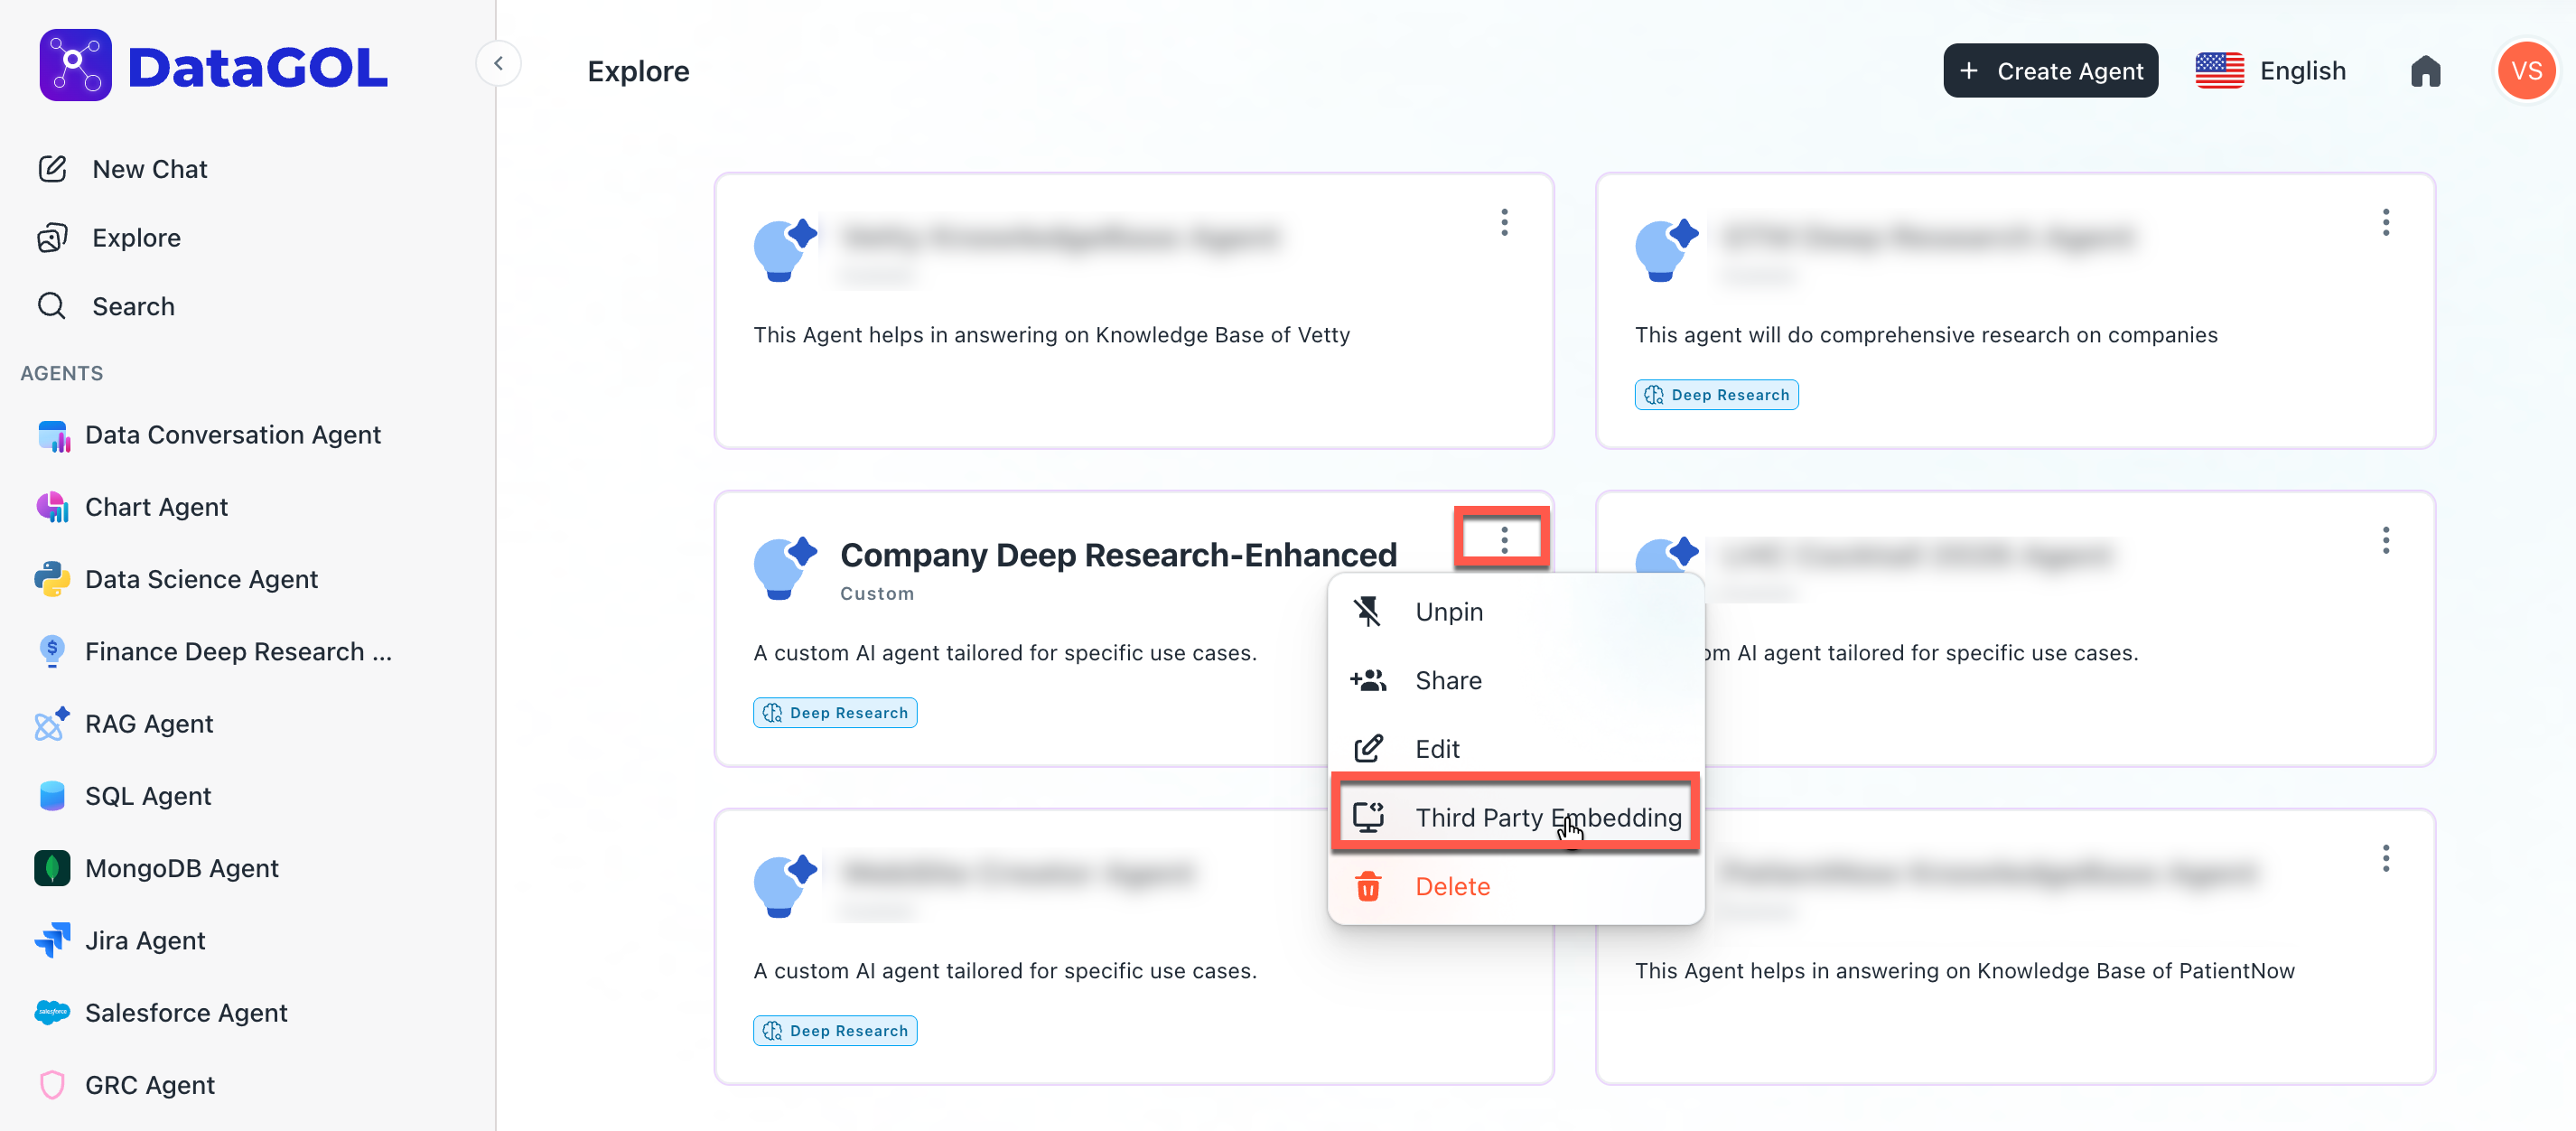
Click the Explore tab. All the Custom agents are displayed.
-
Go to the custom agent that you want to share publicly and click the more options (three dots) button.
-
Select the Third Party Embedding option. The Third Party Configuration box is displayed.
-
Turn on the Enable Embedding option to activate the embedding functionality for your agent and enter the following details if required:

- Allowed Hosts: Add the domain names where you want to embed your agent. Only these domains will be allowed to use your agent. To add multiple domains, type the domain names using a comma separator and press ENTER.
- Authentication Header Name: Specify the HTTP header name that will carry user authentication tokens. This is how your agent will identify and authenticate users from external websites. This is required when public access is disabled.
- Authentication URL: Provide the URL where users will be authenticated. This should be your existing authentication endpoint that validates user tokens and returns user information. Thisis required when public access is disabled.
- Link Service Account (Optional): Optionally link a service account to allow the embedded agent to authenticate and access the same workspaces as the service account. Select a service account.
- Select the Make embedding publicly accessible checkbox if you want to make your agent publicly accessible without authentication. When enabled, authentication header name and URL are not required.
-
Click Create Configuration.
-
Do any of the following to make your agent publicly accessible:
-
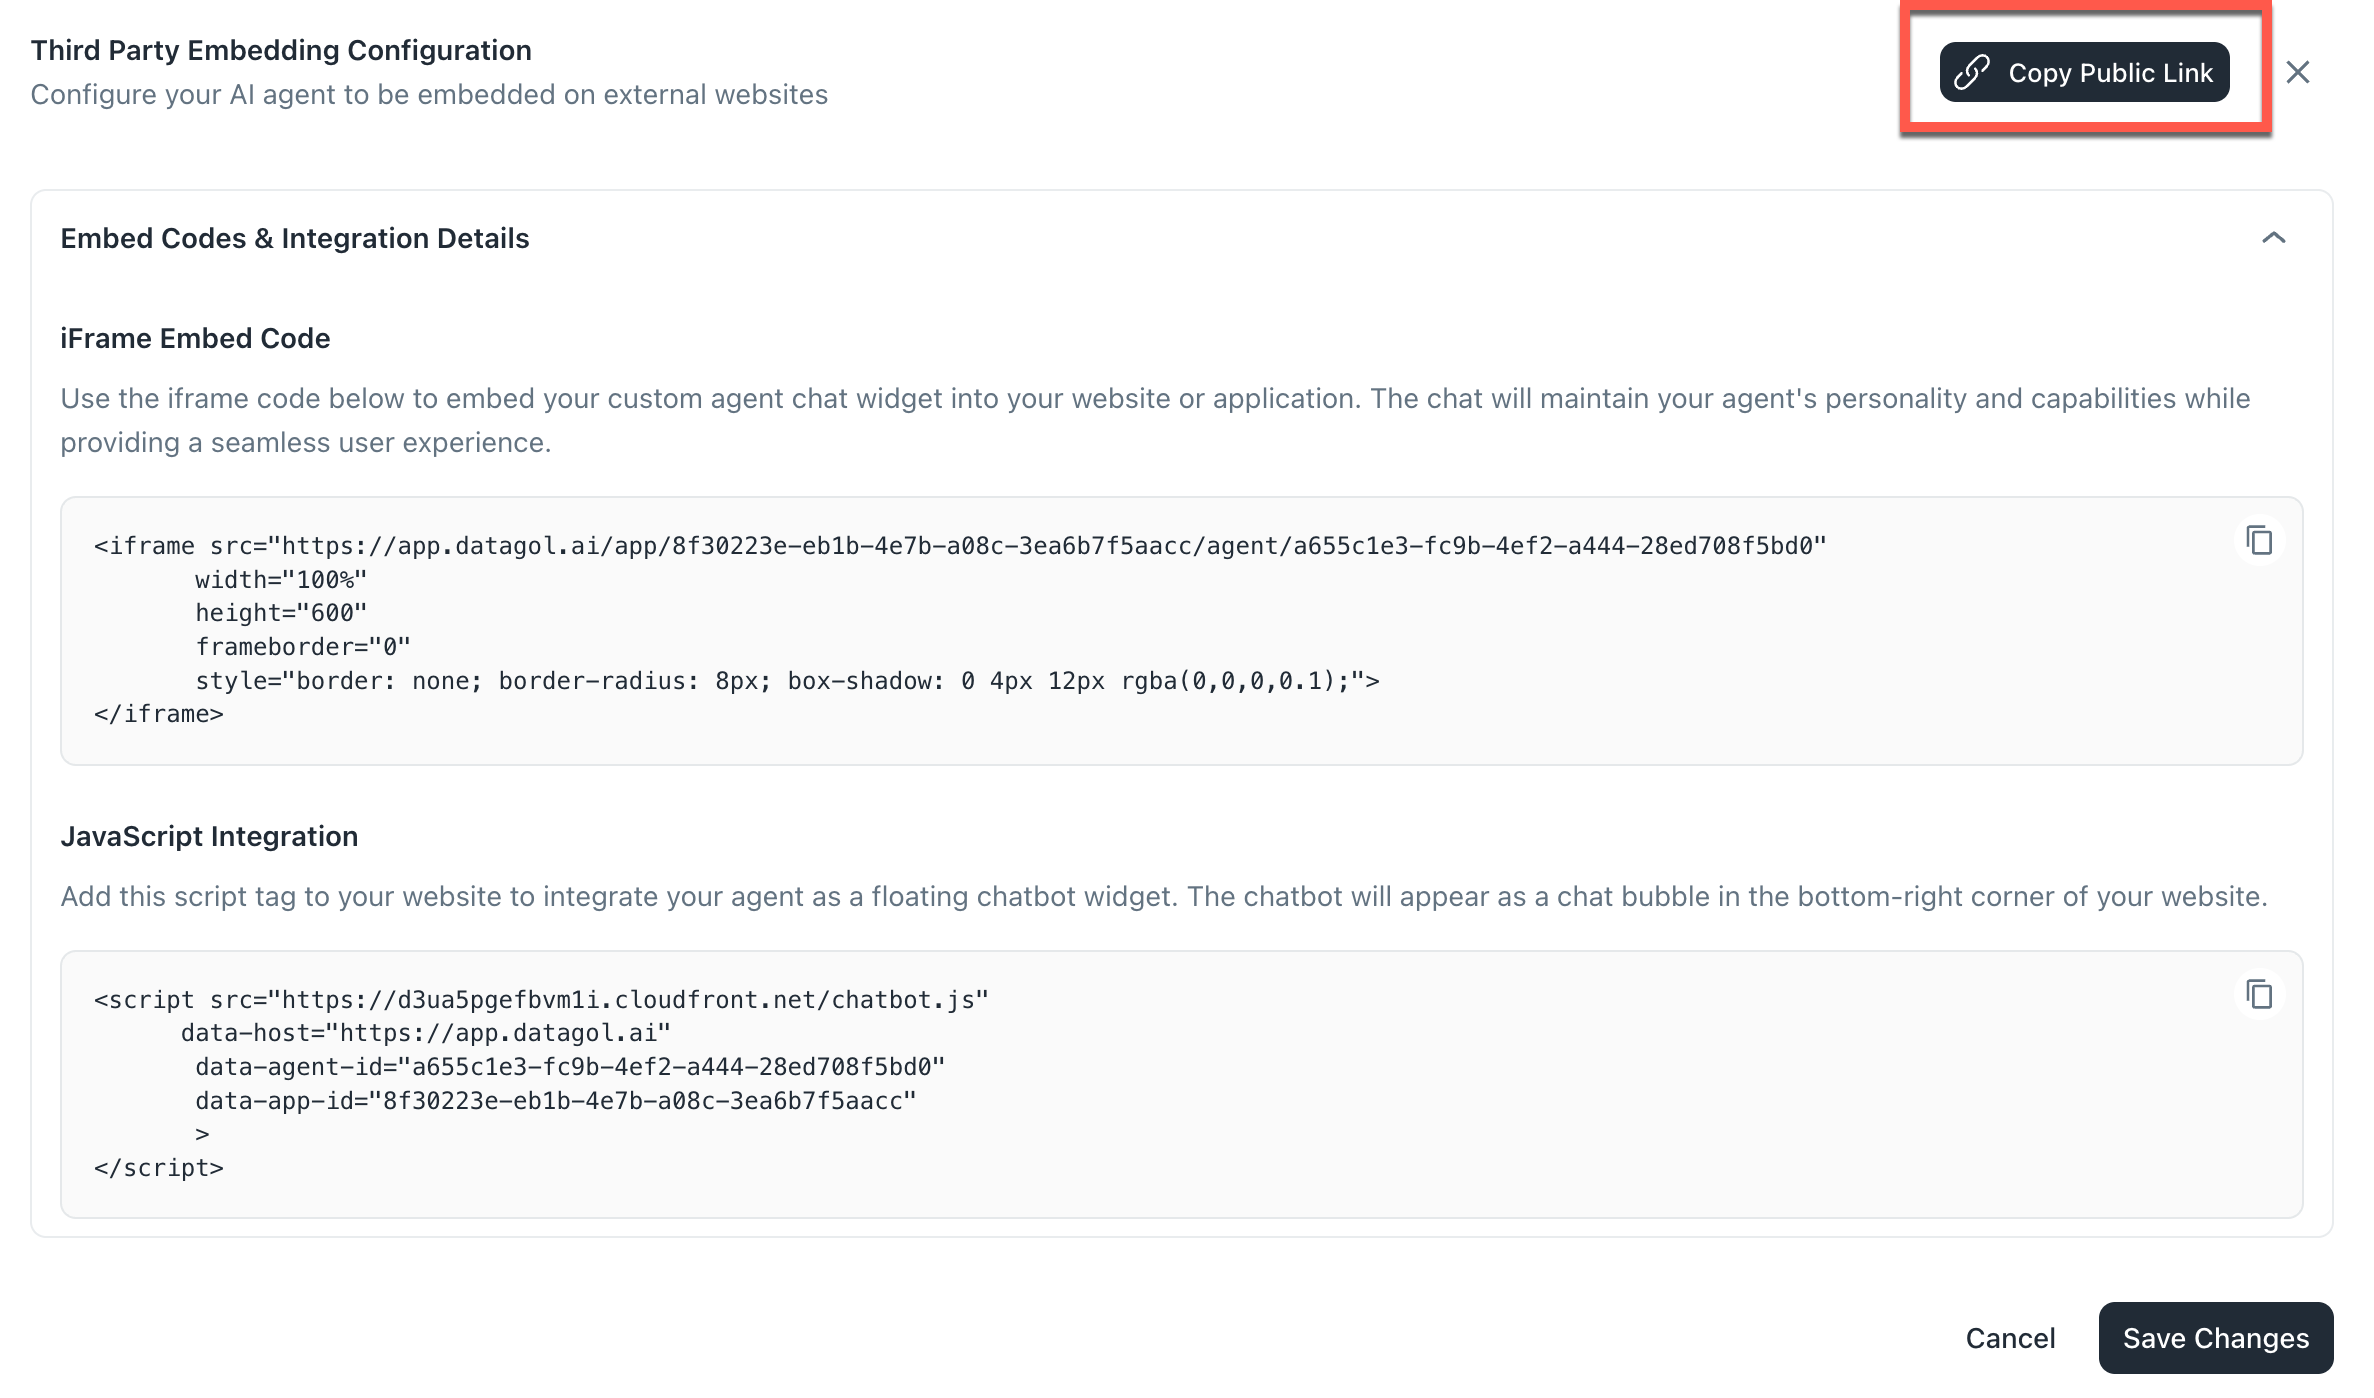
To display your agent as a chat widget: Scroll down to Embed Codes & Integration Details section to view the following options to embed the agent as a chatbot on your website:
- iFrame Embed Code: Use the iframe code provided to embed your custom agent chat widget into your website or application.
- JavaScript Integration: Add this script tag to your website to integrate your agent as a floating chatbot widget. The chatbot will appear as a chat bubble in the bottom-right corner of your website.
-
To provide a public link for your agent: Click the Copy Public link button. You will receive a dedicated URL. This allows clients to access the agent without needing a login.
-
Best Practices
-
Set clear guardrails: Use system prompts to prevent the agent from overselling its capabilities or discussing off-topic subjects.
-
Monitor decision traces: Regularly review the trace or logic the agent uses to reach answers to ensure accuracy.
-
Model selection: Choose your model ($OpenAI$ vs. $Claude$) based on the complexity of the task; use cost-efficient models for simple Q&A and high-reasoning models for deep research.
Always include a Human-in-the-Loop checkpoint for agents that handle sensitive data or trigger external API actions to maintain quality control.
When clients use your public agent they can open the interactive PDF viewer on the right-hand panel. If they highlight text within a document, they can click Ask AI to immediately query the agent about that specific snippet.
Was this helpful?